Next.js, Apollo Client and Server on a single Express app
This article describes two things:
- How to fit
Next.jswithApollo Clienton front end andApollo ServerGraphQLapi into a singleExpressapp. Another important requirement was to haveSSRsupport. As there is not much info about it out there, this is the main purpose of this guide. - How to organize everything nicely into
yarn workspacesmonorepoand deploy toHerokuas a single free plan app. You will find a lot of into about it, but I included it here as a part of the process of the project I was working on.
Usually you might not want to put everything together, moreover host on the same server. But I needed the whole stack quick and in the same repo for the showcase. I also wanted to use TypeScript as a bonus.
Acceptance criteria
- Next.js React frontend
- GraphQL api
- single entry point/host/server
- single repository
- yet decoupled packages: client, api, server ... later other services
- SSR support
- TypeScript everywhere
- hot reload everything
- deployed on heroku
- should take no more than 1 hour to get up and running beta
TLDR
Source code here
Steps
- design
- monorepo
- graphql api
- client app
- server
- connecting everything together
- setting up heroku
- deploying
1. Design
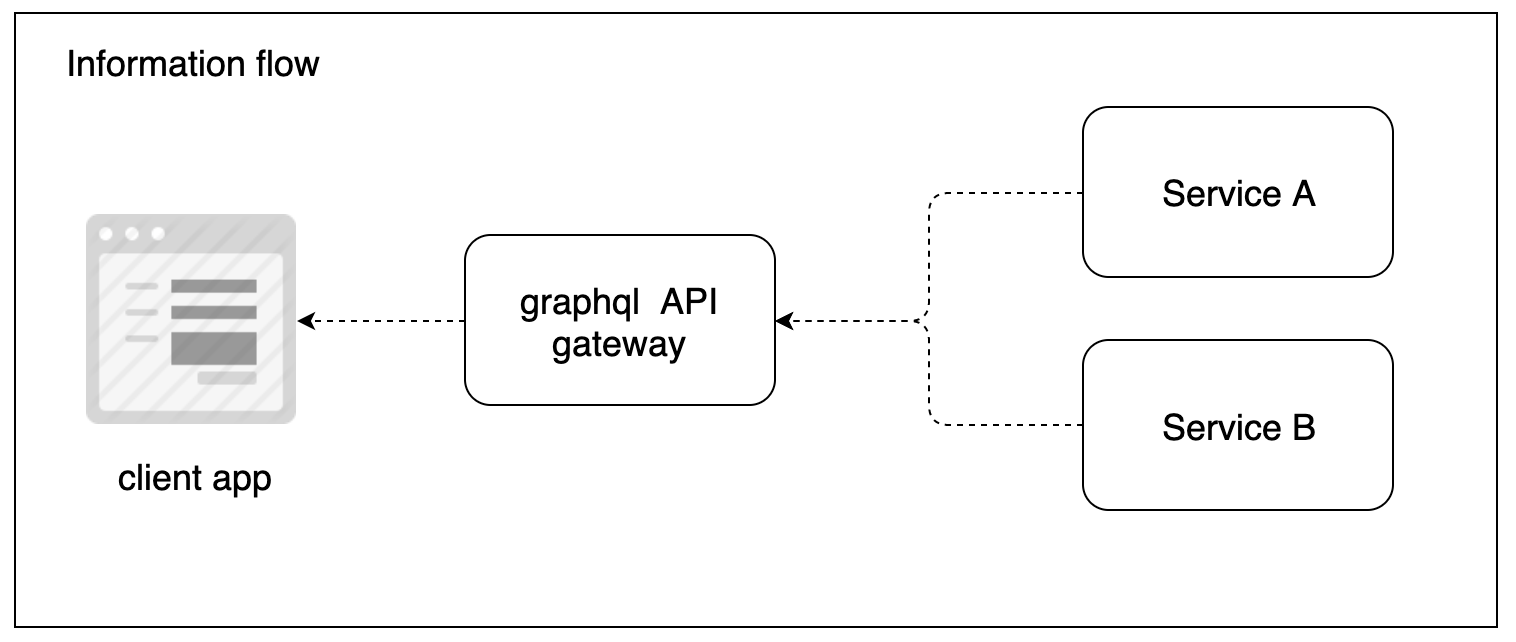
Here is how you would usually want to use graphql - as a API Gateway between client app and back end services:

We are doing the same thing basically, but our server routing will look like:

And here is the dependency diagram of our main packages:

2. Setting up the Monorepo
We want every service in a single repo, but at the same time decoupled - monorepo. We can do it seamlessly with the help of yarn workspaces.
Folder structure:
root
 |- packages
 |   |- client
 |   |- graphql
 |   |- server
 |- package.json
 |- yarn.lock
package.json:
{
 "name": "monorepo",
 ...
  "scripts": {
    "build": "yarn workspace @monorepo/client run build",
    "start": "yarn workspace @monorepo/server run start",
    "dev": "export $(cat .env | xargs) && yarn workspace @monorepo/server run dev"
  },
  "private": true,
  "workspaces": ["packages/*"],
  "engines": {
    "node": "13.x"
  }
}
No dependencies here. private": true is required by yarn workspaces. "workspaces": [...] declares where our packages live. Each script executes yarn command in specified workspace. In dev script we read local development environment variables from .env file before starting dev server. (If it does not work on your OS, replace with what works for you)
.env:
NODE_ENV=development
PORT=3000
GRAPHQL_URI=http://localhost:3000/graphql
Let's agree on the naming convention for our packages: @monorepo/package-name.
3. Setting up GraphQL API
This one is the easiest.
packages/graphql/package.json:
{
  "name": "@monorepo/graphql",
  ...
  "dependencies": {
    "apollo-server-express": "2.12.0"
  }
}
packages/graphql/index.ts:
import { ApolloServer, gql } from 'apollo-server-express'

const typeDefs = gql`
  type Query {
    hello: String
  }
`

const resolvers = {
  Query: {
    hello: () => 'Hello world!',
  },
}

const server = new ApolloServer({ typeDefs, resolvers })

export default server
Everything super simple: schema, reducer. At the end we create Apollo Server, export it, but do not start it right away.
4. Setting up the Client App
This one is trickier. We need to make Next js use Apollo Client for fetching the data and make sure SSR is supported.
To bootstrap the Next.js app, I followed this quick start guide.js app. But we'll need certain modifications.
packages/client/package.json:
{
  "name": "@monorepo/client",
  ...
  "scripts": {
    "dev": "next",
    "build": "next build",
    "start": "next start"
  },
  "dependencies": {
    ...
  }
}
Nothing special.
Now, to set up Apollo Client with SSR, lets copy /apolloClient.js and /lib/apollo.js from next.js/examples/with-apollo.
We need to modify apolloClient.js slightly:
...

export default function createApolloClient(initialState, ctx) {
  return new ApolloClient({
    ssrMode: Boolean(ctx),
    link: new HttpLink({
      uri: process.env.GRAPHQL_URI, // must be absolute for SSR to work
      credentials: 'same-origin',
      fetch,
    }),
    cache: new InMemoryCache().restore(initialState),
  });
}
We'll point link.url to either our local dev server or to heroku host based on GRAPHQL_URI environment variable. The url is /graphql by default, but for SSR to work we have to put absolute path there. Don't ask me why.
We'll have two pages, one with SSR and another without it.
packages/client/pages/index.ts:
import React from 'react'
import { useQuery } from '@apollo/react-hooks'
import Layout from '../components/Layout'
import gql from 'graphql-tag'
import { withApollo } from '../apollo/apollo'

const QUERY = gql`
  query GetHello {
    hello
  }
`

const NOSSR = () => {
  const { data, loading, error, refetch } = useQuery(QUERY)

  if (loading) return <p>Loading...</p>
  if (error) return <p>Error: {error.message}</p>

  return (
    <Layout>
      <h1>This should be rendered on client side</h1>
      <pre>Data: {data.hello}</pre>
      <button onClick={() => refetch()}>Refetch</button>
    </Layout>
  )
}

export default withApollo({ ssr: false })(NOSSR)
Notice how concise useQuery hook is. Beauty. At the bottom we just wrap our page into withApollo({ ssr: false })(NOSSR) to enable/disable the SSR. We'll have another almost identical page, packages/client/pages/ssr.ts but with ssr: true.
Finally, packages/client/index.ts:
import next from 'next'

const nextApp = next({
  dev: process.env.NODE_ENV !== 'production',
  dir: __dirname,
})

export default nextApp
We are creating Next.js app and exporting it to later be used in express.
5. Configuring express server
Alright, its time to stitch everything together.
packages/server/package.json:
{
  "name": "@monorepo/server",
  ...
  "scripts": {
    "start": "ts-node index.ts",
    "dev": "nodemon index.ts"
  },
  "dependencies": {
    "express": "4.17.1",
    "ts-node": "8.8.2",
    "typescript": "3.8.3"
  },
  "devDependencies": {
    "nodemon": "2.0.3",
    "@types/node": "13.11.1"
  }
}
We'll use ts-node to run our TypeScript app on production, it will compile it and keep the build in cache. We'll use nodemon for the hot reload. Latest versions have built in TypeScript support, no need to do anything other than nodemon index.ts. Magic!
And the epxress server itself packages/server/index.ts:
import express from 'express'

import nextApp from '@monorepo/client'
import apolloServer from '@monorepo/graphql'

const { PORT } = process.env

async function main() {
  const app = express()

  await bootstrapApolloServer(app)
  await bootstrapClientApp(app)

  app.listen(PORT, (err) => {
    if (err) throw err
    console.log(`[ server ] ready on port ${PORT}`)
  })
}

async function bootstrapClientApp(expressApp) {
  await nextApp.prepare()
  expressApp.get('*', nextApp.getRequestHandler())
}

async function bootstrapApolloServer(expressApp) {
  apolloServer.applyMiddleware({ app: expressApp })
}

main()
Notice how we import client and graphql packages. That's possible thanks to yarn workspaces simlinking.
Next.js and Apollo Server have different express APIs. Next creates request handler that can be used as express middleware:
await nextApp.prepare()
expressApp.get('*', nextApp.getRequestHandler())
Apollo Server does the same thing, but inside applyMiddleware method:
apolloServer.applyMiddleware({ app: expressApp })
6. Running dev server
Now that we have all the source code ready, from root run:
yarn install
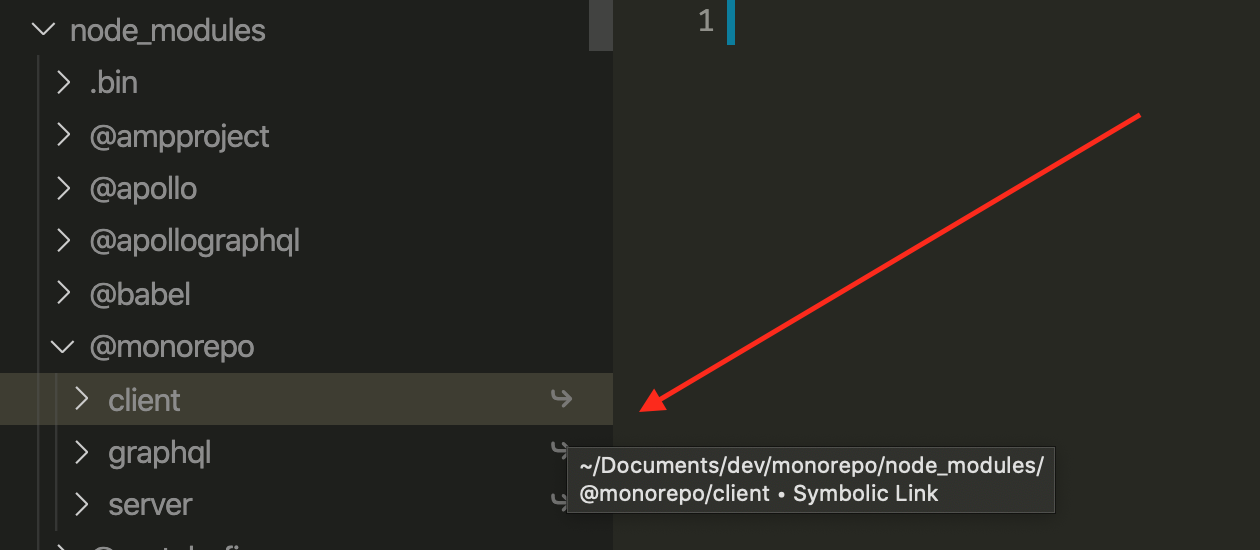
This will instal all the dependencies and do the simlinking between our packages. If you inspect the content of root node_modules in eg VS Code editor, you'll notice something like this:

It looks like our monorepo packages were added to the root node_modules, but the arrow icons indicate that those are just simlinks pointing to the corresponding place in the file system. Very nice!
Now, go ahead and run from root:
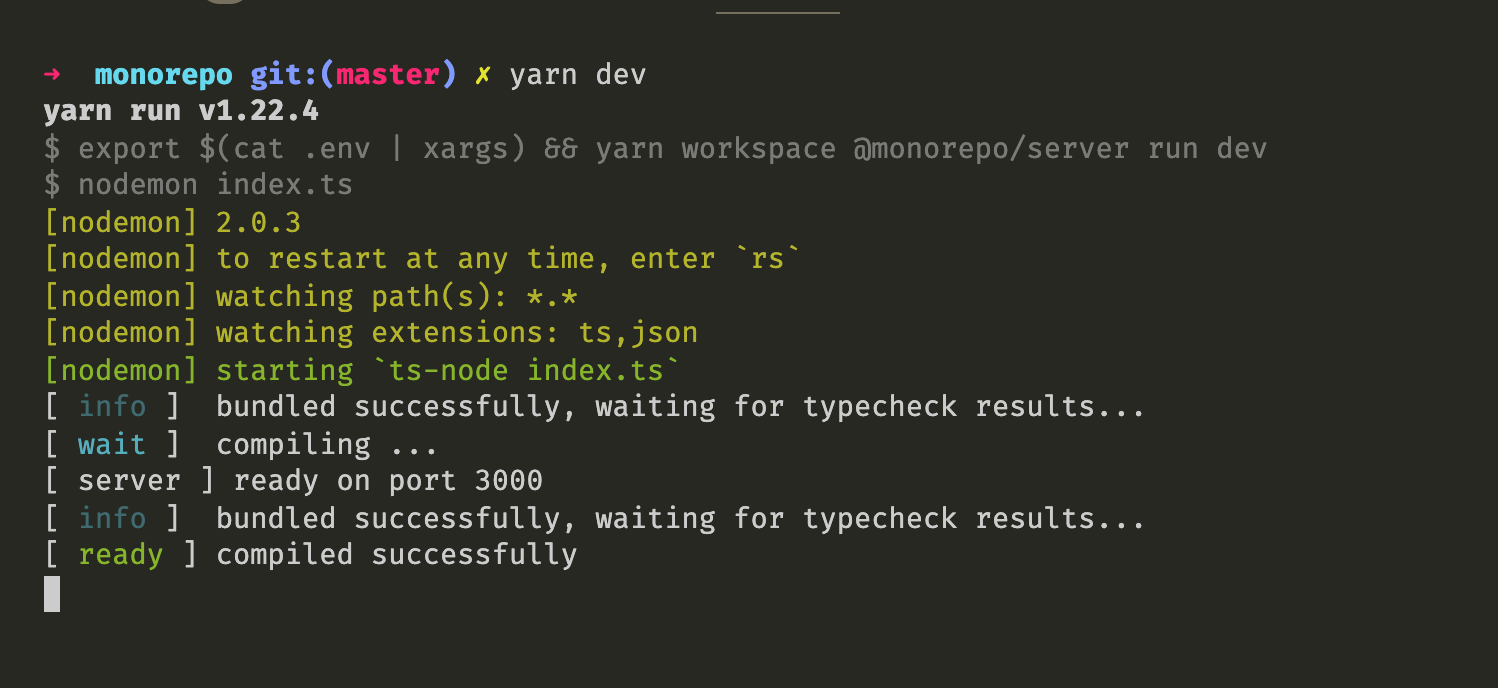
yarn dev

And open the app at http://localhost:3000.

From the network logs you can see that there was an XHR request to /graphql after page was rendered. If you click refetch or go to the SSR page with the link, no extra request will be sent. That's because the data is already present in Apollo Client cache and wont be refetched without explicit instructions. Magic again!
Now, if we reload the SSR page, we will notice that there is no XHR request after page is rendered, and if we inspect the page source, we'll see that Data: Hello world! text is already there. SSR works as expected.
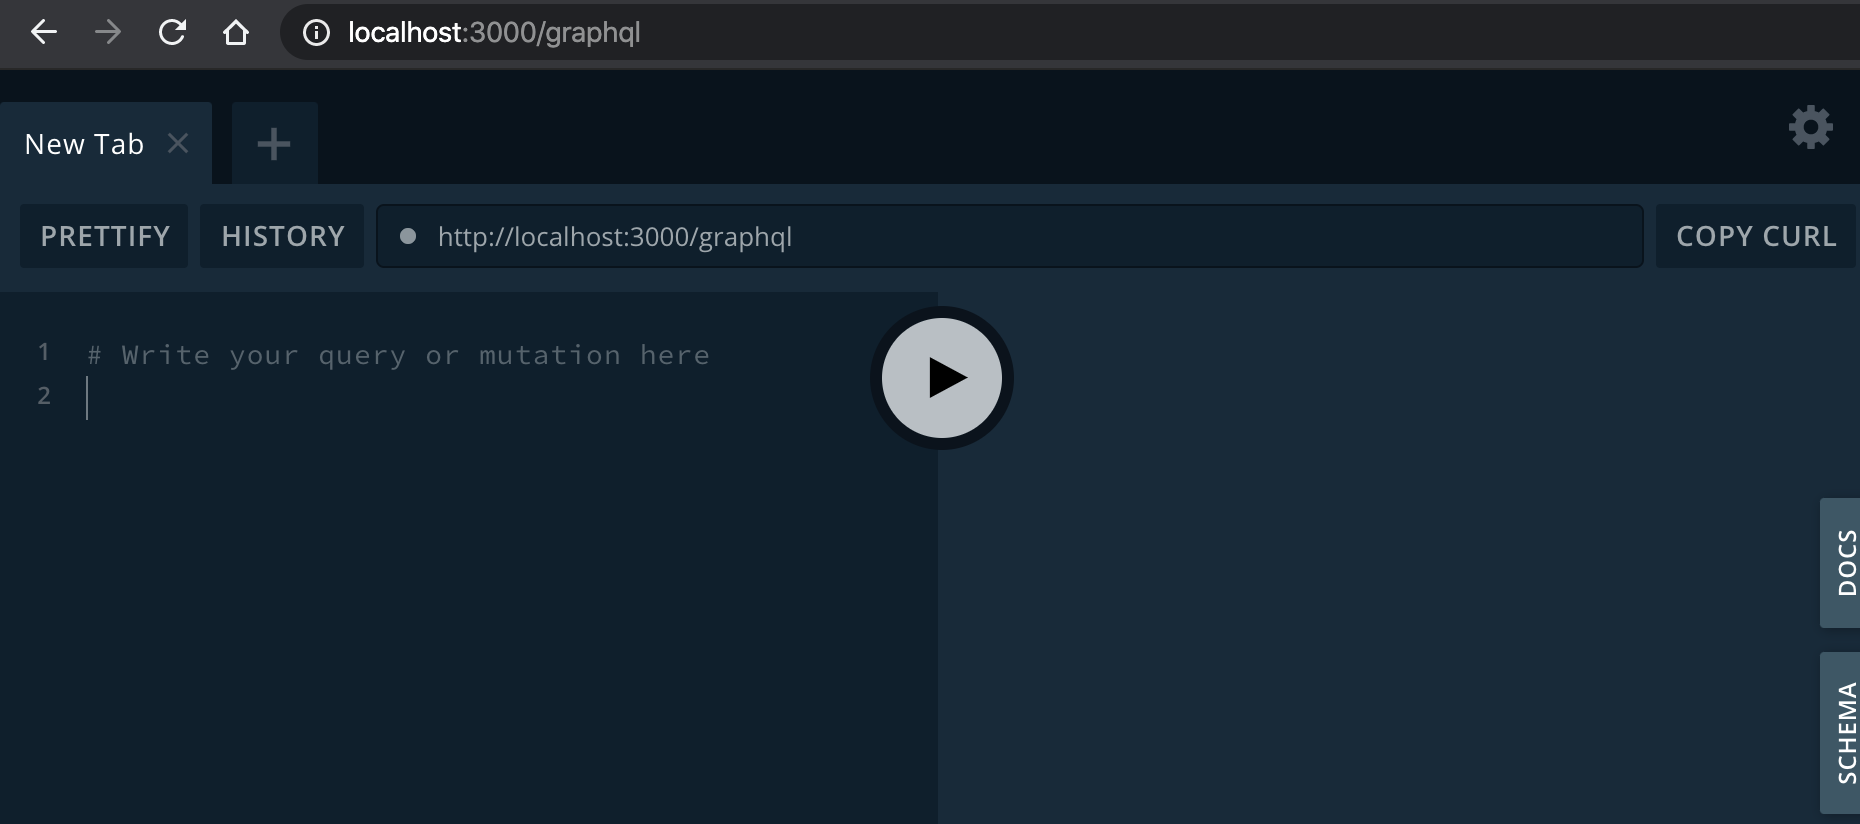
Lastly, navigate to http://localhost:3000/graphql. When in dev mode, you should see the Apollo grapqhl playground screen:

7. Setting up heroku app
I wont describe much about the process of setting up new account and creating the app, but its pretty straight forward and should not take longer than 5 minutes.
- Go to
https://www.heroku.com/, crete a free plan account. - Do to your dashboard
https://dashboard.heroku.com/apps - Click
New->Create new app, choose app name, region, and clickCreate app.
You will land on the page with instructions of how to install heroku cli and deploy your app.
One more thing you have to do is to set up GRAPHQL_URI env var. Go to Settings tab in heroku dashboard. In Domains section you will find text Your app can be found at https://your-app-name.herokuapp.com/. Copy that url, scroll up to the Config Vars section and create new env var with key GRAPHQL_URI and value https://your-app-name.herokuapp.com/graphql:

8. Deploying
heroku login
git init
git add .
git commit -am "make it better"
git push heroku master
This will initiate the deployment process. Now here is the last Magical part. Heroku will recognize that your app is NodeJS based, you don't have to configure anything yourself. Moreover, Heroku will figure out that you use yarn as a package manager and will run yarn install after it fetches the source files. Then it will investigate your root package.json, find build script and run it. Finally it will look for the start script and use it to start the app by default. Awesome. All the set up literally take about 15 minutes if you don't have an existing account.

Alright, navigate to your heroku app url, and we all set.